First Car Light Painting


I've done car photography once before—during the day—but this time, my friend T requested a night shoot. Light painting immediately came to mind. This photographic technique combines moving lights with long exposure to create stunning effects. If you search "light painting" on Google Images, you'll instantly get the idea.
While I've seen plenty of photos showcasing this technique, I had never actually learned the process. All I knew was that it would be a labour-intensive endeavour.
We each compiled a list of potential shooting locations, ranging from car parks and old buildings to natural settings. One Sunday morning, we set out to scout them all. As expected, most urban locations were impractical due to security restrictions and permit requirements. We drove from east to west and back again, finally arriving at The Grandstand, where we discovered an ideal spot. It offered a mix of concrete and greenery, plus ample space for multiple scenes—perfect for what we had in mind.
Visualising.
Three months later, we returned, fully equipped and eager to get started. Our friend K, also excited for the shoot, joined us for the evening. Before diving in, we grabbed an early dinner at the mall, followed by a quick grocery run to stock up on essentials—snacks, water, and whatever we needed to power through the long night ahead.
As the sun dipped below the horizon, we positioned the car for the first scene, set up our gear, and waited for darkness to settle in. The moment the sky turned pitch black, we got to work.
My petite camera.
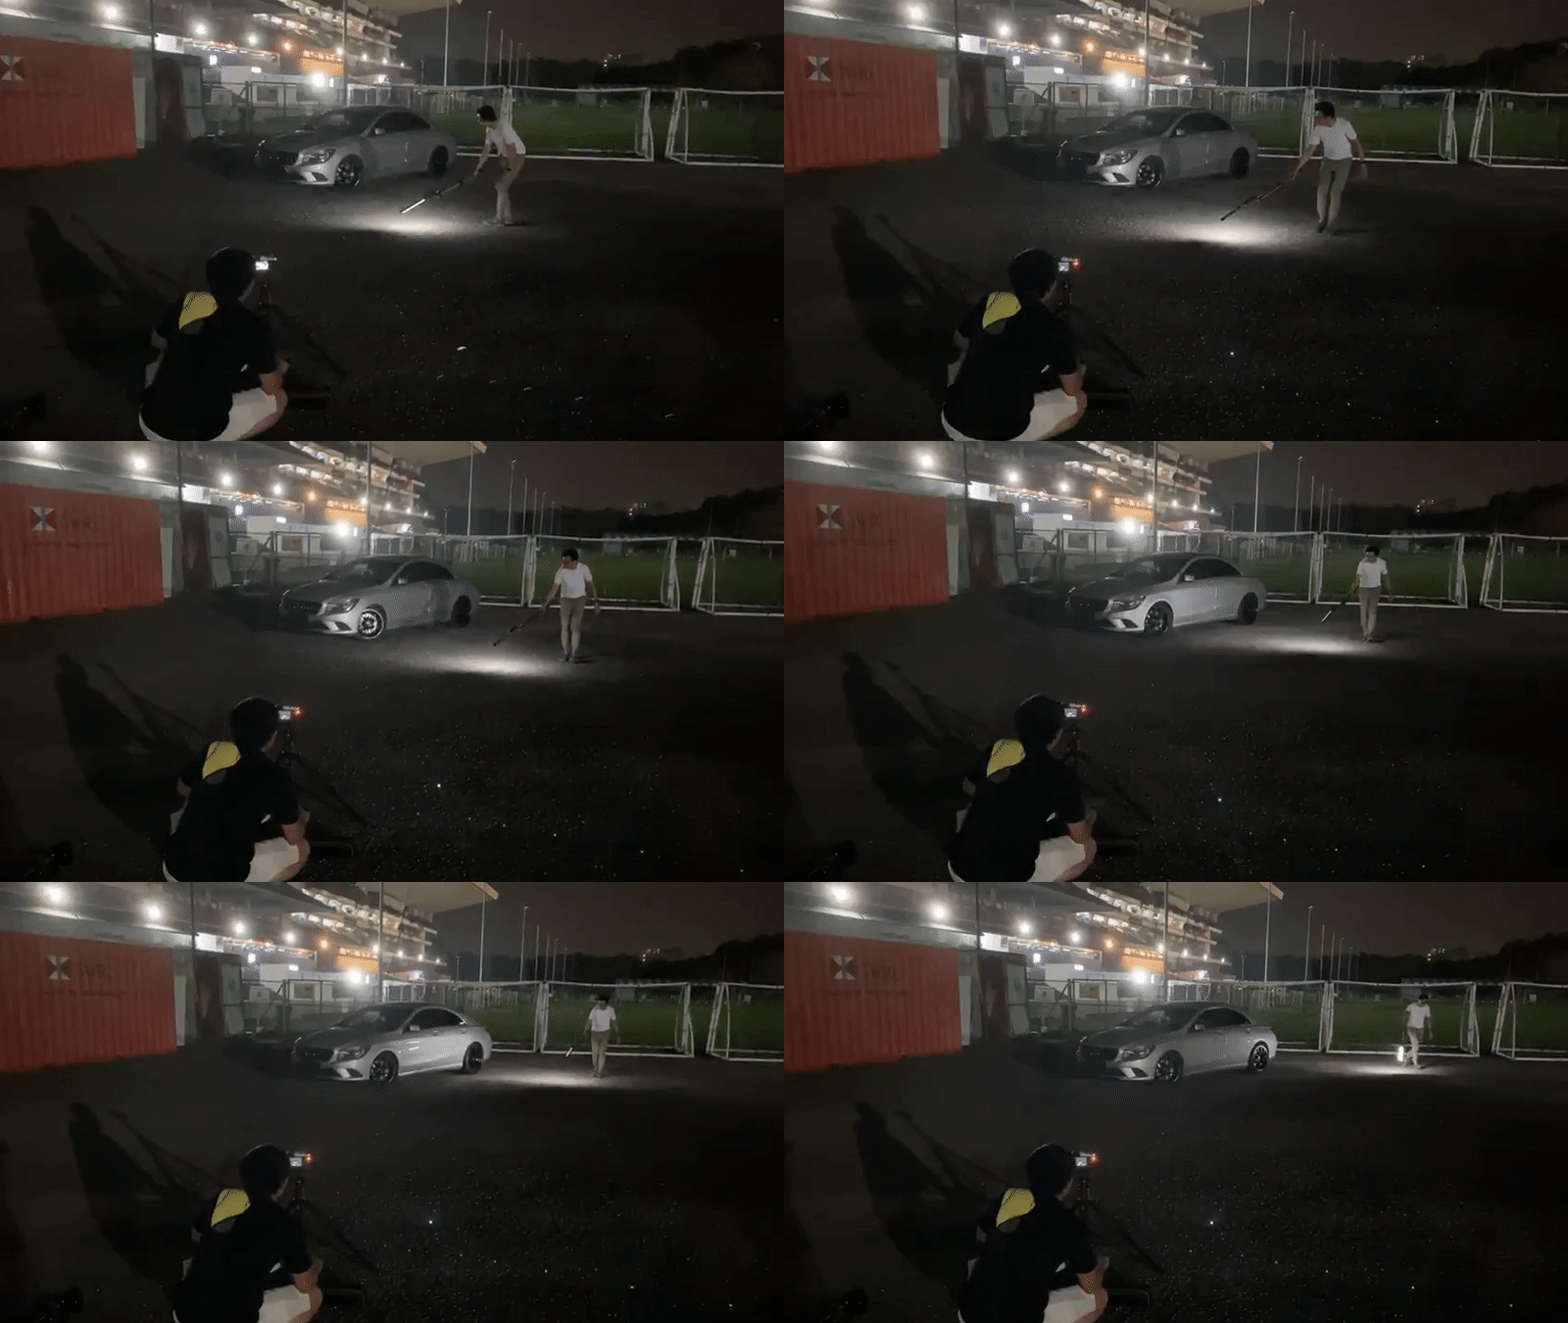
T assisted me by pressing the remote shutter of my camera while I used a light bar to illuminate his car. Throughout the shoot, we maintained clear communication—I guided him on when to release the shutter after I finished lighting specific sections of the vehicle. After each shot, I quickly checked the camera to ensure the image turned out well. As it was my first attempt at light painting, the initial hour felt like a warm-up, filled with trial and error as I got the hang of the technique. The same applied to K, who was also experimenting with the process. We took turns helping each other, alternating between handling the camera and managing the lighting to capture the best possible shots.
Mini steps. Mini steps. Mini steps.
You can see a small bit of the light painting process in this time-lapse video.
We covered quite a distance on foot, despite staying within the same area. Finally, at 2 AM, we called it a night. While I knew our first attempt might run late, I hadn’t expected it to go this late. It wasn’t until I switched off my camera and let my mind rest that I noticed the chill in the air. No complaints, though—it was a memorable evening, a chance for the three of us to work together again after so long. The last time had been way back in our school days.
You can hear rats scampering about under these containers.
Although I was eager to produce the final photos, the editing process proved to be just as demanding as the shoot itself—time-consuming and requiring a fair amount of experimentation. That said, there’s something thrilling about tackling something new, and in the end, the effort was undoubtedly worth it. If another night shoot opportunity arises, I plan to add a creative touch by incorporating colours and dynamic light designs to elevate the results.
Our initials with water. To sign off. Random.


